 Pin
Pin
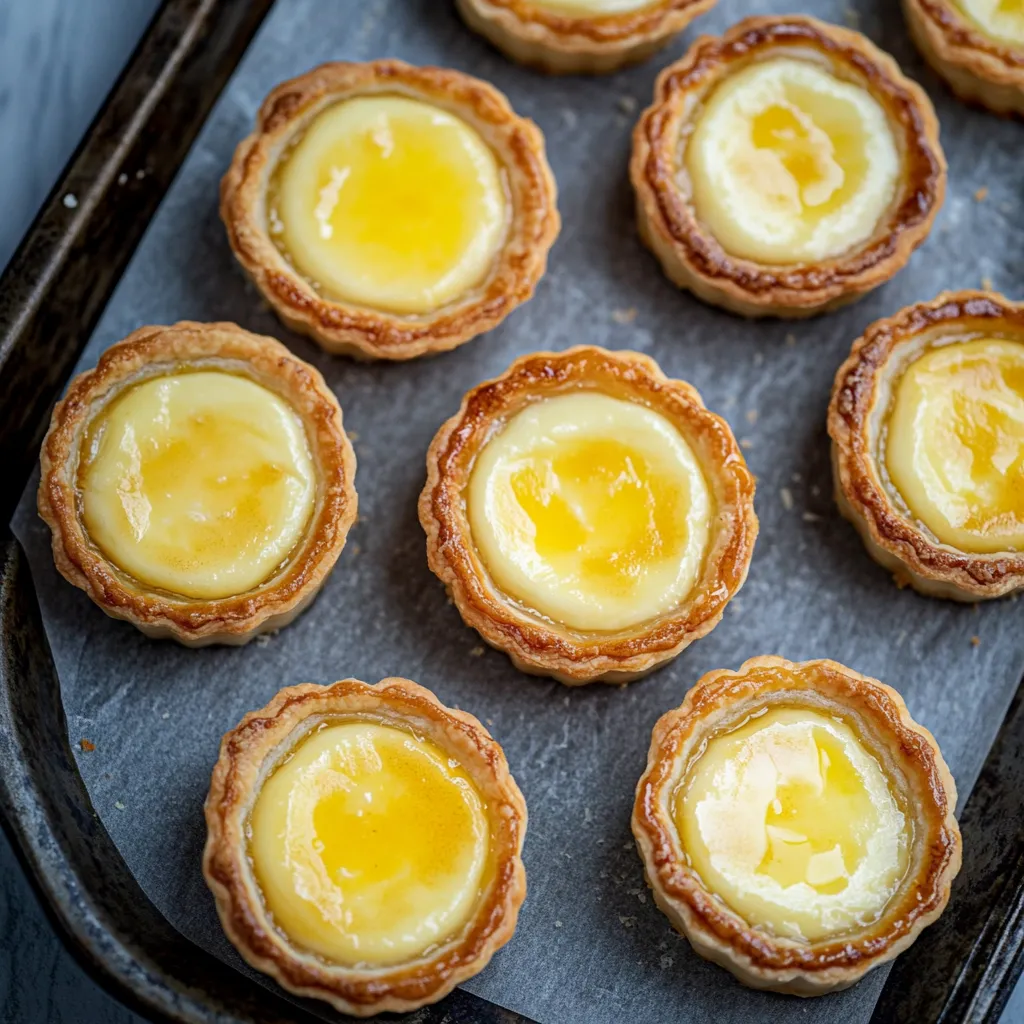
This homemade Japanese cheese tart recipe brings the iconic flavors of Hokkaido-style cheese tarts right to your kitchen. The contrast between the buttery, flaky tart shells and the creamy, luscious cheese filling creates an irresistible treat that rivals the famous bakeries of Japan.
I first tasted these tarts during a trip to Japan and immediately knew I needed to recreate them at home. After several attempts to perfect the recipe, my family now requests these for every special occasion, and friends always ask for the recipe when I bring them to gatherings.
Ingredients
- Unsalted butter: provides richness and creates flaky layers in the tart shells. Make sure it's cold for the best texture.
- All purpose flour: forms the base of our tart shells. Use a good quality brand for best results.
- Powdered icing sugar: gives sweetness without the grittiness of granulated sugar.
- Egg yolks: add richness and help bind both the shells and filling.
- Cream cheese: is our star ingredient. Use full fat cream cheese at room temperature for the smoothest filling.
- Heavy whipping cream: adds luxurious texture to the filling. The higher the fat content, the better.
- Cornstarch: helps stabilize the filling and gives it that perfect gooey consistency.
Step-by-Step Instructions
- Prepare the tart dough:
- Combine the cold butter cubes with flour and sugar using an electric mixer until you achieve a crumbly texture. This technique creates those flaky layers we love. Add the egg yolk and knead gently just until a smooth dough forms. Overworking the dough will make your tarts tough, so stop as soon as it comes together.
- Form the tart shells:
- Press small portions of dough into your tart molds, ensuring even thickness throughout. The trick is to work quickly while the dough is still cool. Use your fingers to press the dough up the sides first, then work toward the center. Prick the bottoms with a fork to prevent bubbling during baking.
- Bake the shells:
- Bake at 410°F for exactly 15 minutes until the edges just begin to turn golden. The high temperature helps create that distinct crisp texture. Allow them to cool completely in the molds before attempting to remove them to prevent breakage.
- Create the cream cheese filling:
- Mix room temperature cream cheese with sugar until completely smooth. Any lumps now will remain in your final tarts. Gradually incorporate the heavy cream in three additions, allowing each to fully integrate before adding more. This method prevents separation and creates the silkiest texture. Finally, add cornstarch to help stabilize the filling.
- Fill and freeze:
- Transfer the filling to a piping bag and carefully fill each tart shell. Filling them just to the top gives the most elegant appearance. Freeze for a full 4 hours until completely solid. The freezing step is crucial for preserving the distinct separation between the crisp shell and molten filling.
- Final baking:
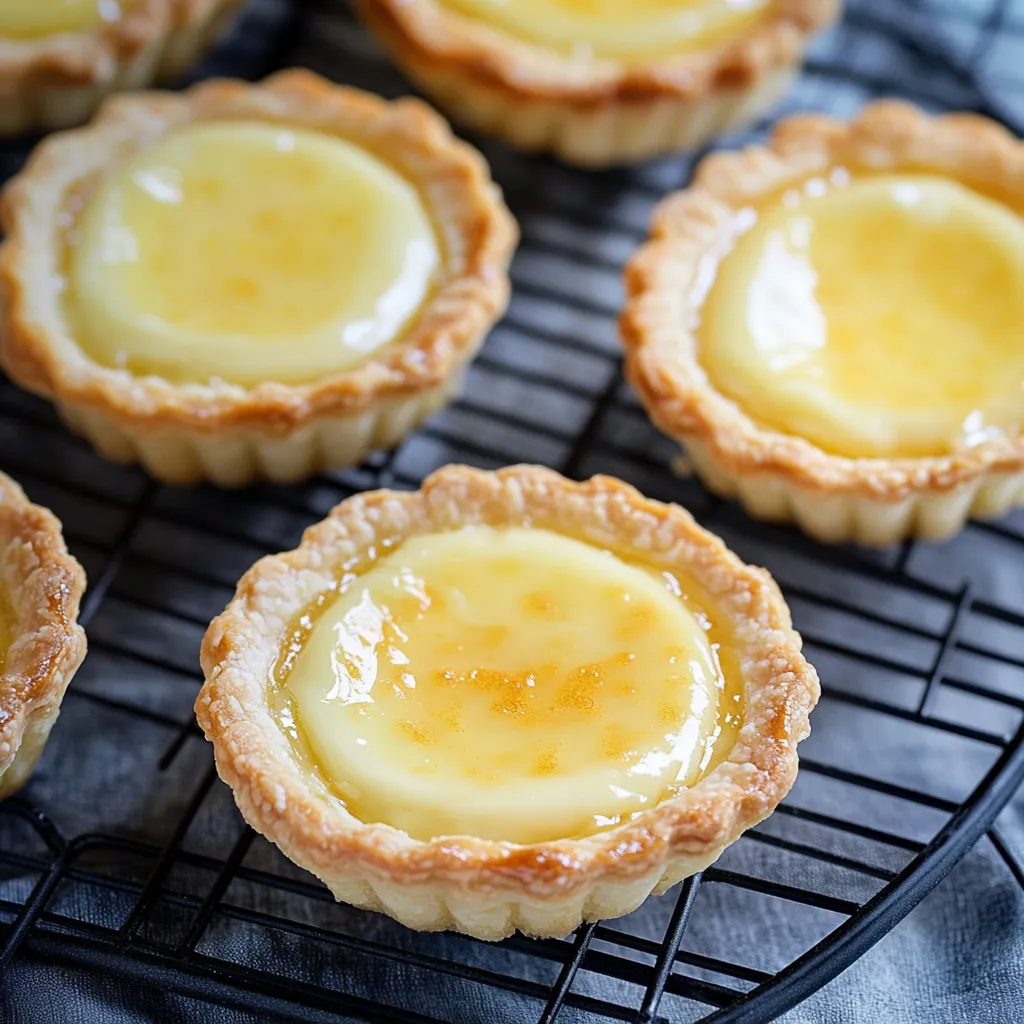
- Brush the frozen tarts with egg wash for that signature golden shine. Bake at 410°F for exactly 15 minutes. Watch them carefully as they can go from perfect to overdone quickly.
 Pin
Pin
You Must Know
The cream cheese is truly the heart of this recipe. I discovered that letting it come completely to room temperature before mixing creates the silkiest filling. One summer when making these for a family reunion, my daughter insisted on helping pipe the filling, creating the most adorable if slightly lopsided tarts that everyone praised as having extra love baked in.
Perfect Timing Tips
Timing is everything with these cheese tarts. For the ideal texture contrast, serve them warm, about 10 minutes after they come out of the oven. This allows the shells to remain crisp while the filling achieves that signature molten center that Japanese cheese tarts are famous for. The temperature difference between the warm shell and the still cool center creates an amazing sensory experience.
Storage and Reheating
These tarts can be made ahead and stored in several ways. After the initial freezing but before the final baking, you can keep them frozen for up to two weeks tightly wrapped. Once baked, store leftovers in the refrigerator for up to three days. To recapture their freshly baked texture, reheat them in a 350°F oven for 5 minutes until just warmed through.
Creative Variations
While the classic recipe is perfection, you can customize these tarts in countless ways. Add lemon zest to the filling for a citrusy bright version. Incorporate a tablespoon of matcha powder into the tart shell for a Japanese inspired variation with beautiful color contrast. For chocolate lovers, add mini chocolate chips to the filling before freezing, which will create pockets of melty chocolate in the finished tarts.
Recipe Questions & Answers
- → How do you make the tart shells flaky?
The tart shells are made flaky by combining butter with flour and sugar until crumbly, then kneading gently into a smooth dough without overmixing. This ensures a tender, buttery texture.
- → What makes the cheese filling creamy?
The filling is creamy because it is made with softened cream cheese, powdered sugar, and heavy whipping cream. Mixing these ingredients gently creates a smooth texture.
- → Can the tarts be made ahead of time?
Yes, you can prepare the tart shells and filling in advance. Freeze the filled tarts, then bake them before serving for best results.
- → What is the purpose of the egg wash?
The egg wash gives a golden, glossy finish to the baked tarts, enhancing their appearance and flavor.
- → Can I use other types of cheese for the filling?
For a different flavor, you can experiment with other soft cheeses, such as mascarpone or ricotta, although cream cheese provides the classic texture and taste.