 Pin
Pin
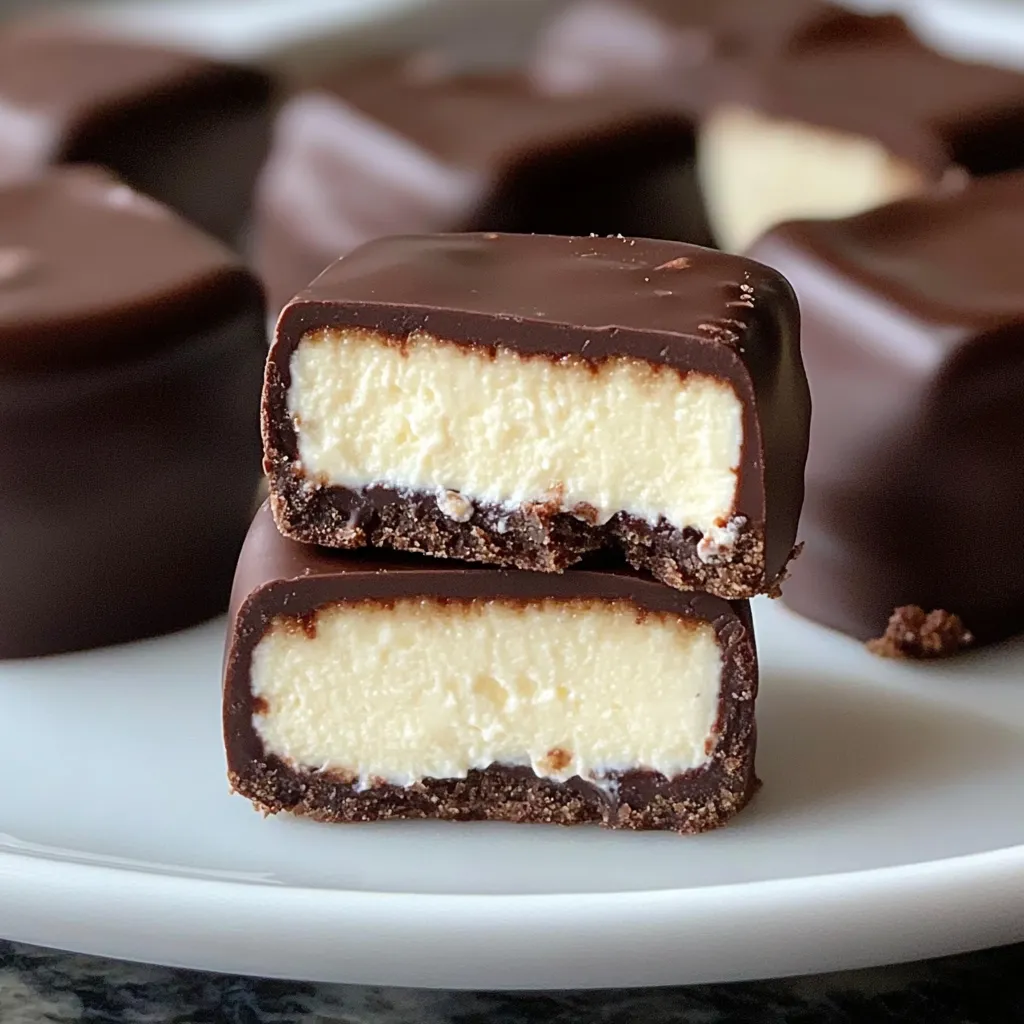
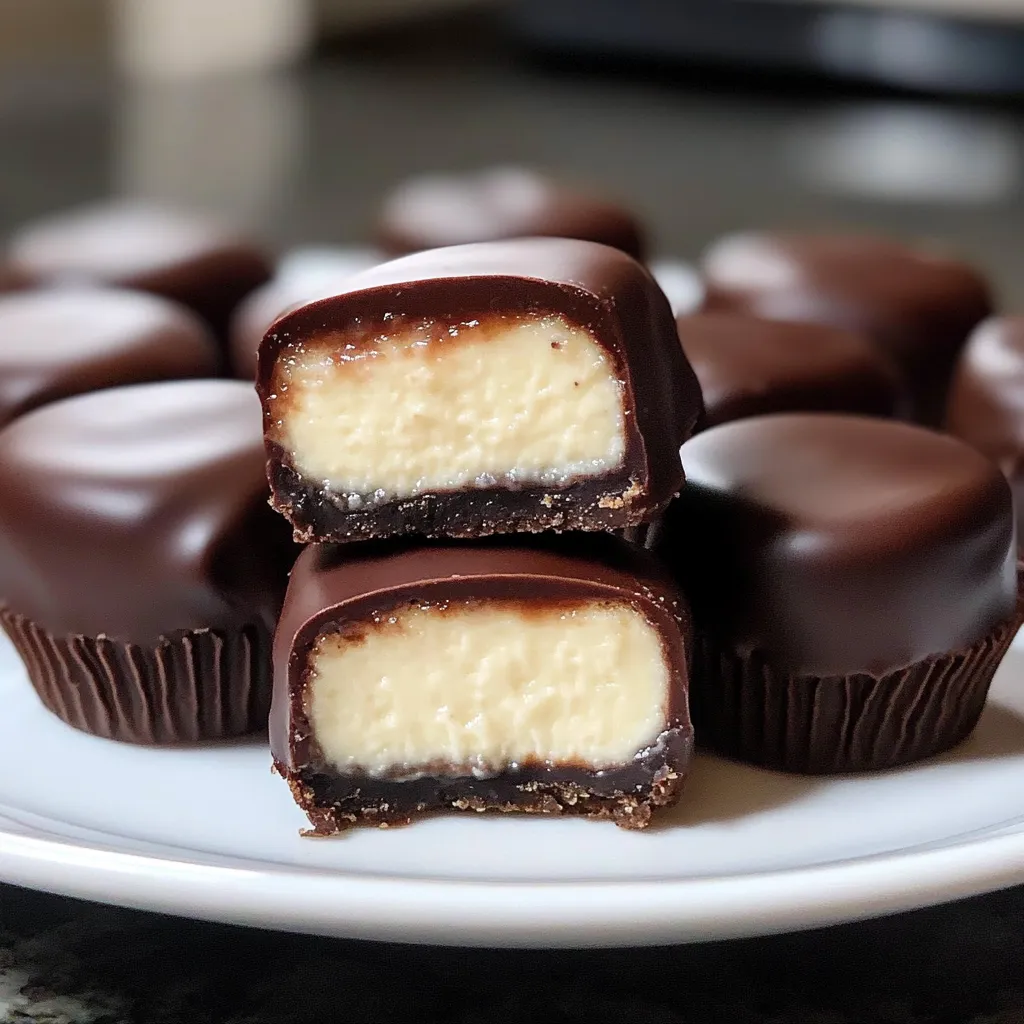
This cheesecake bites recipe transforms classic cheesecake into an irresistible finger food that perfectly balances rich chocolate with tangy cream cheese. After developing this recipe for a holiday gathering, I found myself making these bite sized treats year round whenever I need an impressive dessert that can be made ahead.
I first made these for my sister's bridal shower where they disappeared within minutes. Now they're requested at every family celebration, and I always double the batch because they vanish so quickly.
Ingredients
- For the crust: Graham crackers provide that classic cheesecake base with a hint of honey sweetness
- Unsalted butter: binds the crumbs together while adding richness. Choose a good quality European style for best flavor
- For the filling: Cream cheese forms the tangy base. Philadelphia brand works consistently well but any full fat version will do
- Granulated sugar: balances the tang without making it overly sweet
- Sour cream: adds moisture and extra tanginess that makes these unforgettable
- Large eggs: provide structure. Make sure they're truly room temperature for proper incorporation
- Vanilla extract: enhances the overall flavor profile. Use pure rather than imitation for best results
- All purpose flour: stabilizes the filling during baking
- Fine sea salt: intensifies all the flavors and balances the sweetness
- For the chocolate coating: Semisweet chocolate creates the perfect shell. Choose bars rather than chips for smoother melting
- Coconut oil: helps thin the chocolate to the ideal dipping consistency without affecting flavor
Step-by-Step Instructions
- Prepare the crust:
- Process graham crackers until they resemble fine sand with no large pieces remaining. Pour in melted butter and pulse until every crumb is moistened and the mixture holds together when pressed. Press firmly into your lined pan using a flat bottomed glass for an even layer. The baking step toasts the crumbs for enhanced flavor and helps set the butter.
- Mix the filling:
- Beat cream cheese and sugar thoroughly until absolutely no lumps remain. This is crucial for silky smooth cheesecake. The mixture should look fluffy and light before proceeding. Add remaining ingredients on low speed just until combined. Overmixing incorporates air that can cause cracks.
- Bake the cheesecake:
- Pour batter over cooled crust and tap the pan several times to release trapped air bubbles. Bake until the center appears set but still has a slight jiggle when gently shaken. The slow cooling process prevents cracking and allows the cheesecake to finish setting properly.
- Freeze and cut:
- Freezing the cheesecake completely solid makes it much easier to cut clean squares and helps the bites maintain their shape during dipping. Use a sharp knife wiped clean between cuts for professional looking edges.
- Chocolate coating:
- Work quickly with a few pieces at a time while keeping the rest frozen. Fully submerge each square using two forks to lift and drain excess chocolate. The contrast between cold cheesecake and warm chocolate creates the perfect shell thickness.
 Pin
Pin
The coconut oil in the chocolate coating is my secret ingredient discovery. I once made these without it and the chocolate was too thick and broke when bitten into. Adding just a bit of coconut oil creates the perfect shell that stays intact until you take a bite, then yields perfectly to reveal the creamy center.
Storage Tips
These cheesecake bites can be stored in an airtight container in the refrigerator for up to 5 days. For longer storage, place them in the freezer where they will keep beautifully for up to 3 months. The frozen bites make a delicious cold treat straight from the freezer or can be thawed in the refrigerator for about 20 minutes before serving for a softer texture. Layer them with parchment paper when storing to prevent sticking.
Flavor Variations
While the classic version is always a crowd pleaser, there are countless ways to customize these bites. Try using white chocolate for the coating and adding lemon zest to the filling for a bright citrus version. For chocolate lovers, add 3 tablespoons of cocoa powder to the filling. During the holidays, I love adding a teaspoon of peppermint extract to the chocolate coating and sprinkling the tops with crushed candy canes. You can also swirl in 1/4 cup of fruit preserves before baking for a fruity variation.
Troubleshooting
If your chocolate seizes or becomes grainy during melting, you likely overheated it or got water in the mixture. Start over with fresh chocolate and melt in 15 second intervals. If your cheesecake bites begin to soften while dipping, return them to the freezer for 15 minutes before continuing. For cleaner cuts, dip your knife in hot water and wipe dry between slices. When the cheesecake starts to stick to the knife, it means your squares are warming up and need to go back in the freezer.
Recipe Questions & Answers
- → How can I ensure the bites stay firm during dipping?
Ensure the cheesecake bites are as cold as possible before dipping. If they become too soft, place them back in the freezer until firm.
- → Can I use milk chocolate instead of semisweet chocolate?
Yes, milk chocolate can be used, but it will result in a sweeter flavor profile. Adjust according to your preference.
- → How long can the cheesecake bites be stored?
You can store the bites in an airtight container in the fridge for up to 5 days or in the freezer for up to 3 months.
- → What can I use as a substitute for coconut oil in the coating?
You can replace coconut oil with vegetable oil or omit it for a thicker chocolate coating.
- → Do I have to use a food processor for the crust?
No, you can crush the graham crackers using a rolling pin and a resealable plastic bag as an alternative method.