 Pin
Pin
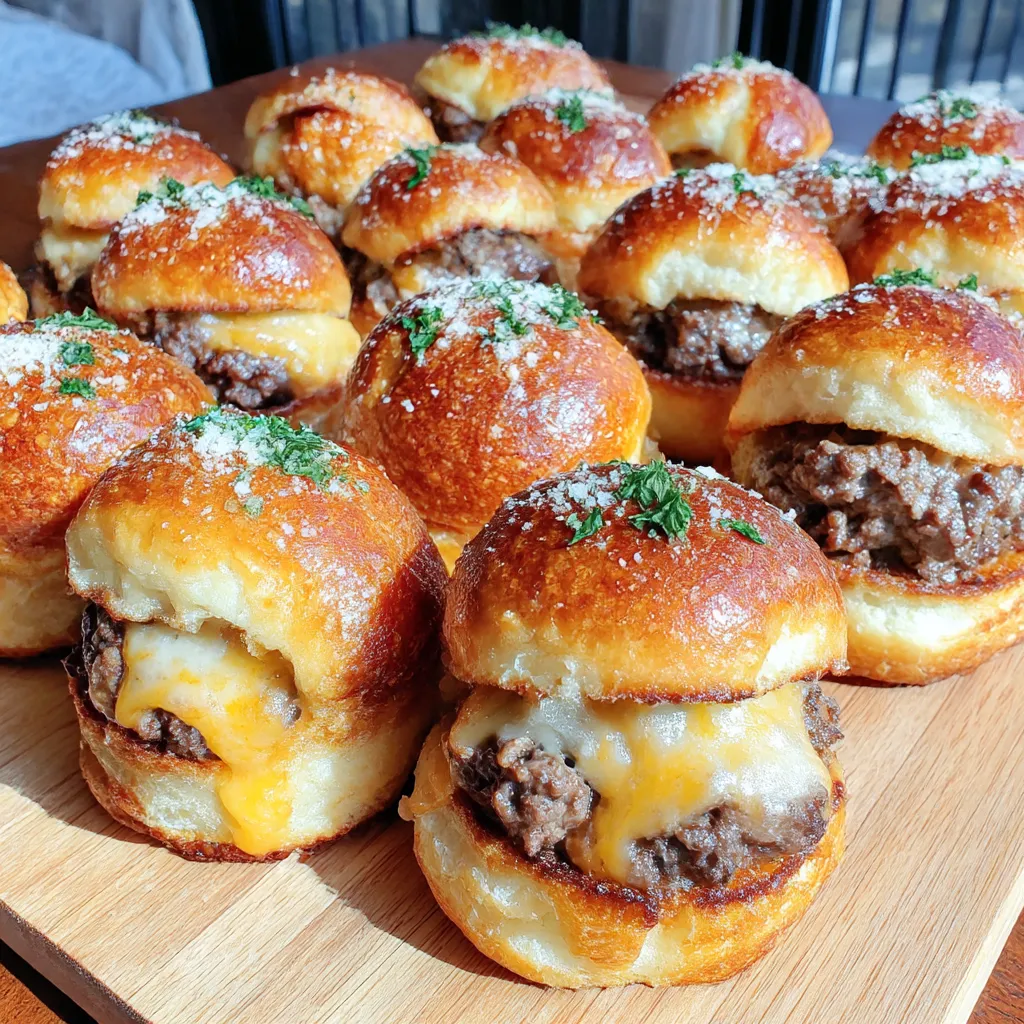
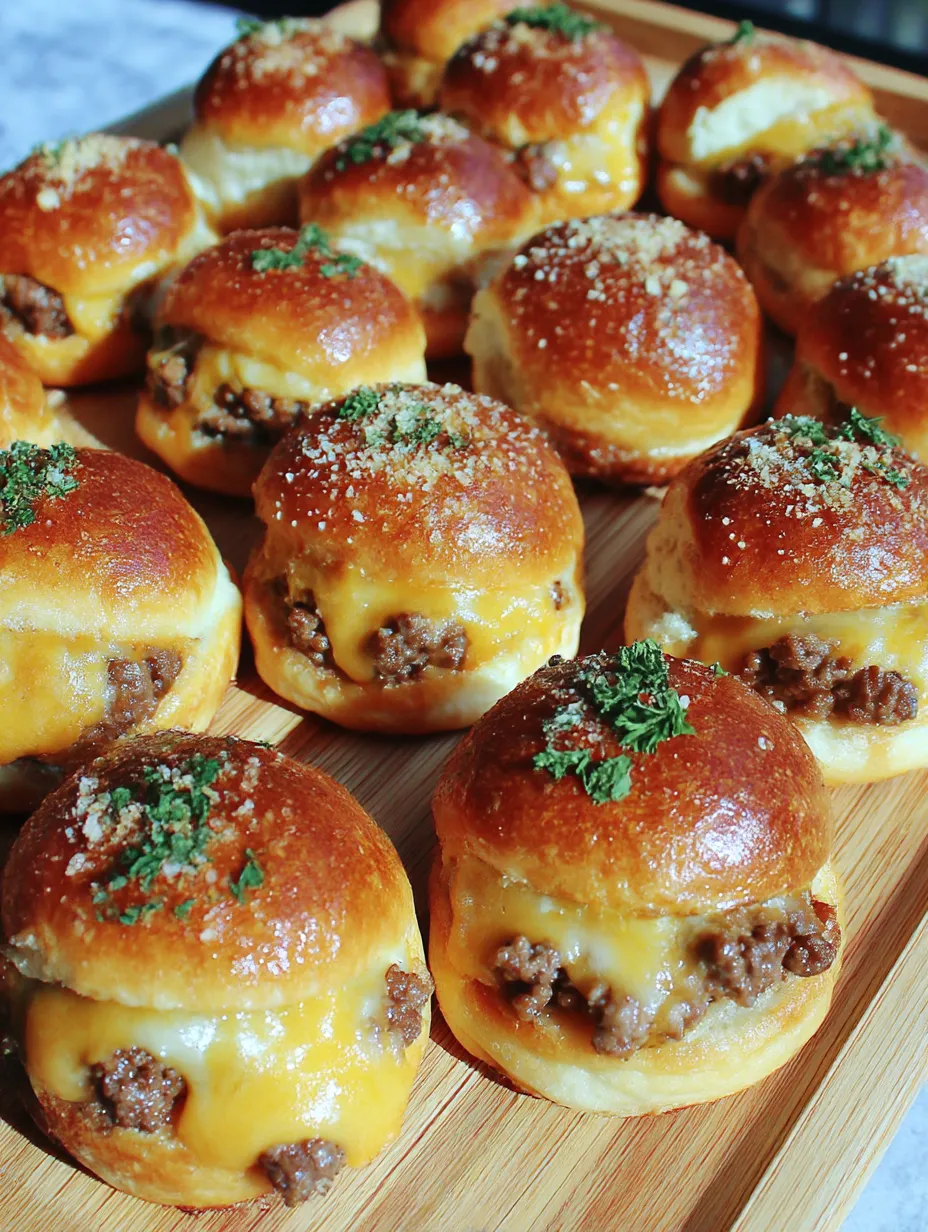
These Garlic Parmesan Cheeseburger Bombs are everything I want in comfort food cozy bread wrapped around savory beef and gooey cheese topped with garlicky buttery goodness. Whenever I need a fun bite-size dinner or party snack for friends these are a guaranteed hit and disappear in minutes.
I first made these for a game day with friends and everyone begged for the recipe. Now they are a monthly favorite in my house especially when I have leftover ground beef.
Ingredients
- Ground beef: The juicy flavorful base Use freshly ground beef for the best texture and true beefy taste
- Shredded cheddar or mozzarella: Melty cheesiness Smooth and stretchy Choose cheese that melts well for the ultimate center
- Salt pepper garlic powder onion powder: Balances and boosts everything Freshly ground pepper or a quality garlic powder makes a difference
- Worcestershire sauce: Deepens the meaty flavor Just a dash goes a long way
- Refrigerated biscuit or pizza dough: Quick shortcut to handheld bombs Go for a dough with simple ingredients if possible
- Optional add-ins like bacon pickles caramelized onions: Create your own flavor twist Pick thick-cut bacon and crunchy pickles for texture
- Melted butter: For a crisp rich finish Real butter gives the best color and flavor for brushing the tops
- Grated Parmesan: Adds a salty nutty crust Choose a wedge of Parmesan to grate yourself for extra flavor
- Minced garlic or garlic powder: Essential for the garlic kick Freshly minced garlic will give an extra punch
- Chopped parsley: Adds color and freshness Flat-leaf parsley is my go-to for sprinkling
Step-by-Step Instructions
- Prepare the Beef Filling:
- Brown the ground beef in a skillet over medium heat breaking it up with a spoon and cooking until no pink remains This may take 7 to 10 minutes Drain any excess fat so the filling is not greasy Stir in salt pepper garlic powder onion powder and Worcestershire sauce combining evenly Let this mixture cool completely for easier handling then mix in the shredded cheese until well dispersed
- Shape the Dough:
- Cut your refrigerated biscuit or pizza dough into 8 to 12 equal circles Flatten each piece into a 3 to 4 inch round using your hands or the heel of your palm The dough needs to be wide enough to enclose the filling fully without tearing
- Fill and Seal:
- Spoon 1 to 2 tablespoons of the beef and cheese filling into the center of each flattened dough round Gather the edges up and pinch tightly so no filling escapes Roll each dough ball gently in your hands to form a smooth sealed bomb
- Arrange and Add Toppings:
- Place the finished bombs seam side down on a parchment lined baking sheet This keeps sticking to a minimum Brush each one with melted butter mixed with minced garlic then sprinkle the tops generously with grated Parmesan For an extra restaurant touch add a bit of chopped parsley
- Bake to Golden Perfection:
- Set your oven to 375 F or 190 C Bake the bombs for 15 to 18 minutes or until they develop a deep golden brown crust The cheese may start to bubble out a little at the seams which is always a good sign
- Finish and Serve Warm:
- Once out of the oven brush again with your garlicky butter and top with extra parsley if you like Serve these warm for the best melty texture Pair with dipping sauces like ranch spicy mayo or aioli for an extra treat
 Pin
Pin
I especially love using thick grated Parmesan for the topping because it melts and crisps into little golden nuggets It is a detail my kids now look for every time we make these together I still remember making these as a movie night treat and the kitchen smelled like pure happiness
Storage Tips
To keep leftovers fresh let the bombs cool fully then place them in an airtight container Once chilled they will last up to three days in the refrigerator When ready to enjoy reheat in a low oven or in the air fryer so the crust stays crisp The freezer works too Store each cool bomb in a freezer bag and reheat right from frozen at 350 F until hot all the way through
Ingredient Substitutions
No beef on hand Try ground chicken turkey or plant-based crumbles for a lighter version Cheddar and mozzarella are the stars but any easy melting cheese will work You can even make these vegetarian by using a savory mushroom or veggie filling instead of the beef
Serving Suggestions
Garlic Parmesan Cheeseburger Bombs shine as finger food at parties or game day spreads Add a variety of dipping sauces like classic ketchup tangy BBQ or creamy ranch For a full meal serve these with a crisp green salad or roasted veggies on the side
Cultural and Historical Context
This recipe is inspired by classic American cheeseburgers but wraps the familiar flavors in playful portable dough balls The garlic Parmesan topping was my little twist to make them extra special and impossible to resist They are part burger part sandwich roll and they always bring a smile
Recipe Questions & Answers
- → How can I prevent the filling from leaking out?
Pinch dough edges firmly to seal each bomb and place seam-side down before baking. This helps keep the savory filling securely inside.
- → Can I prepare these ahead of time?
Yes, you can assemble the bombs in advance and refrigerate them. Bake when needed, or freeze for longer storage and reheat before serving.
- → What dipping sauces go well with these?
Classic options include ranch, aioli, or spicy mayo, but you can try BBQ sauce, honey mustard, or even marinara for extra flavor.
- → Is it possible to make a vegetarian version?
Absolutely. Substitute the beef with sautéed mushrooms, lentils, or a meat alternative, and load up on cheese and vegetables as desired.
- → What’s the best way to reheat leftovers?
Reheat in a preheated oven or air fryer until warmed through and crispy on the outside. This helps maintain their texture.
- → Can I use homemade dough?
Yes, homemade biscuit or pizza dough works well if you prefer making dough from scratch instead of using store-bought tubes.