 Pin
Pin
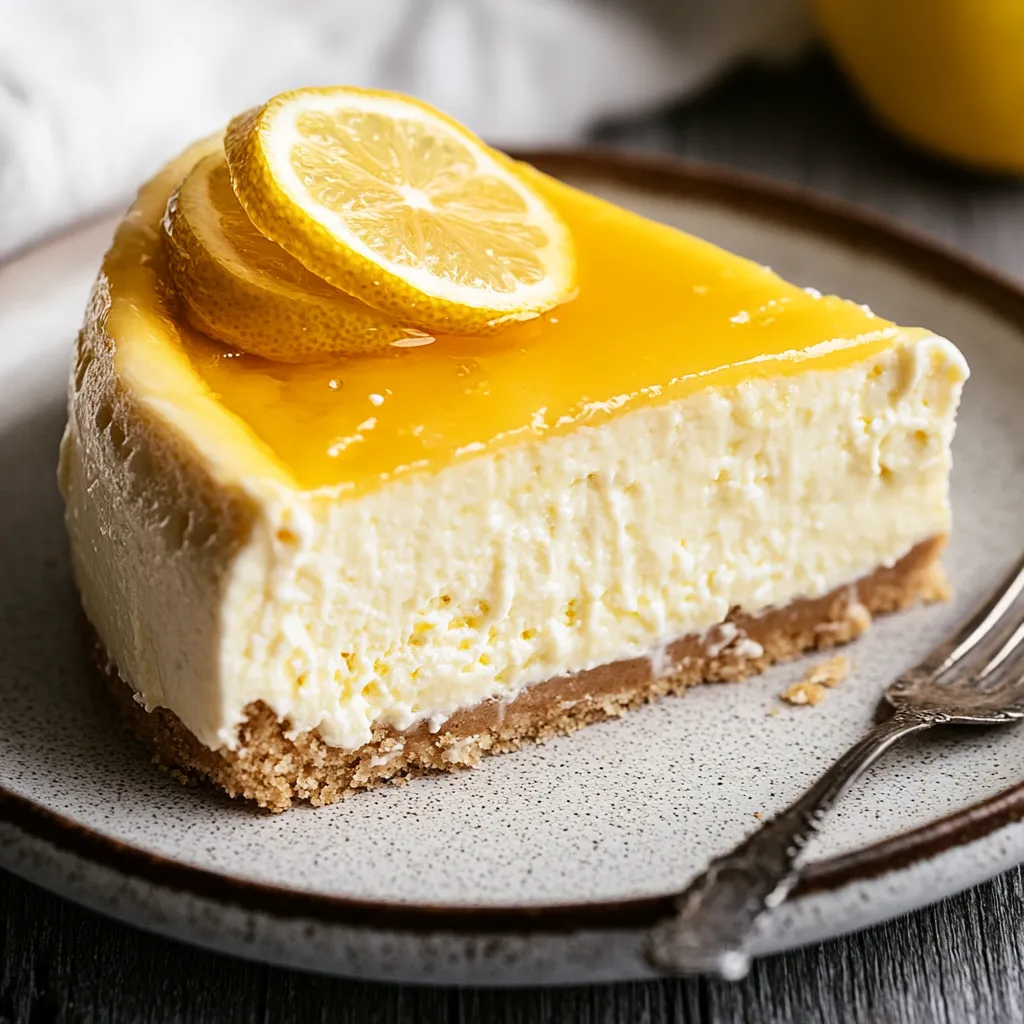
This lemon cheesecake transforms an ordinary dessert into an extraordinary experience with its velvety smooth texture and bright citrus flavor profile. The buttery graham cracker crust provides the perfect foundation for the luxuriously rich and tangy filling, while the lemon curd topping adds an elegant finishing touch that will impress even the most discerning dessert lovers.
I discovered this recipe during a summer dinner party disaster when my planned dessert fell through. This cheesecake saved the evening and has since become my signature dessert that friends request by name for birthdays and holidays.
Ingredients
- For the crust:
- Graham cracker crumbs: Provide that classic honeyed sweetness and satisfying crunch
- Granulated sugar: Enhances the sweetness and helps bind the crust
- Unsalted butter: Binds everything together and adds rich flavor. Use good quality butter for best results
- For the filling:
- Cream cheese: Forms the foundation. Must be completely room temperature for a smooth texture
- Granulated sugar: Balances the tanginess of the cream cheese
- Sour cream: Adds moisture and a subtle tang that complements the lemon
- Fresh lemon zest: Contains essential oils that provide intense flavor. Use organic lemons if possible
- Fresh lemon juice: Brings bright acidity. Always use freshly squeezed for the best flavor
- All purpose flour: Stabilizes the filling and prevents cracking
- Eggs: Provide structure and richness. Room temperature eggs incorporate more smoothly
Step-by-Step Instructions
- Prepare the pan:
- Line springform pan with three layers of heavy duty aluminum foil to create a waterproof seal. Take your time with this step as it prevents a soggy crust. The foil should extend up the sides of the pan with no tears or holes.
- Create the crust:
- Mix graham cracker crumbs with sugar and melted butter until evenly moistened. The texture should resemble wet sand that holds together when pressed. Press firmly into the bottom and partially up the sides of the pan using a flat bottomed measuring cup for even compaction. Bake until lightly golden which develops a toasty flavor.
- Make the filling:
- Beat cream cheese until absolutely smooth with no lumps whatsoever. Take your time here and scrape the bowl frequently. Add sugar and beat until incorporated, then mix in sour cream, lemon zest, juice, and flour. Add eggs one at a time, mixing just until incorporated. Overmixing incorporates air which can cause cracks, so use a gentle touch after adding eggs.
- Prepare water bath:
- Place foil wrapped springform pan inside a larger roasting pan. Pour boiling water halfway up the sides of the springform pan. This regulates temperature and creates a gentle, humid environment that prevents cracks and promotes even cooking.
- Bake to perfection:
- Bake until the edges are set but center still has a slight wobble. The cheesecake will continue cooking from residual heat. Let it cool gradually in the oven with door cracked open which prevents rapid temperature changes that cause cracks.
 Pin
Pin
My favorite part of this cheesecake is the bright lemon zest that perfumes the entire filling. When my niece had her first bite at age seven, her eyes widened and she declared it tasted like sunshine. That description perfectly captures the essence of this dessert.
The Secret to Perfect Texture
The key to achieving that professional bakery quality texture lies in how you handle your ingredients. Cream cheese must be completely softened before mixing begins. Cold cream cheese contains small lumps that will never fully incorporate. I recommend cutting it into cubes and allowing it to sit at room temperature for at least two hours. Similarly, eggs and sour cream should never be used straight from the refrigerator as they will create temperature fluctuations in your batter.
Storage and Make-Ahead Options
This cheesecake improves with time, making it perfect for advance preparation. Store uncovered in the refrigerator for up to 3 days to prevent condensation that would make the top soggy. For longer storage, freeze individual slices wrapped in plastic wrap then aluminum foil for up to 2 months. Thaw overnight in the refrigerator before serving. Add lemon curd topping only after the cheesecake has been fully chilled or after thawing if frozen.
Troubleshooting Cheesecake Problems
Even experienced bakers occasionally encounter issues with cheesecakes. If small cracks appear despite your best efforts, simply cover them with lemon curd topping. If the crust becomes soggy from water bath leakage, place the baked cheesecake in a 350°F oven for 5 minutes to crisp up the bottom. For a filling that seems too soft after proper chilling time, you likely undermixed the batter or used ingredients that were too cold, preventing proper incorporation.
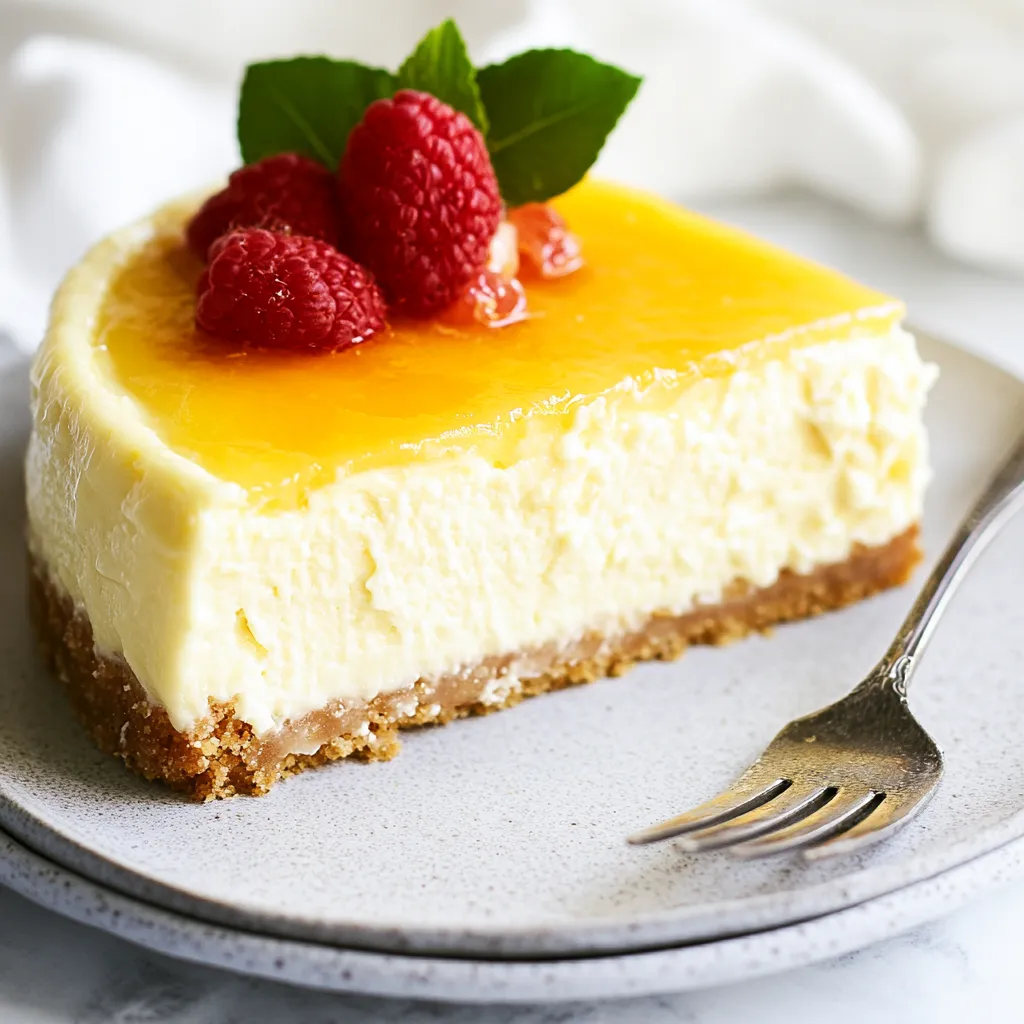
Serving Suggestions
Transform this classic dessert into an elegant plated experience by adding a small dollop of lightly sweetened whipped cream and fresh berries. For summer gatherings, serve with a blueberry compote for a beautiful color contrast and complementary flavor. During winter holidays, candied lemon slices make a stunning garnish that adds textural interest. Always serve cheesecake slightly chilled rather than cold for the best flavor experience.
Recipe Questions & Answers
- → How do I prevent cracks in my cheesecake?
To prevent cracking, use a water bath, avoid overmixing the batter, and allow the cheesecake to cool slowly inside the oven before refrigerating.
- → What is the purpose of a water bath?
A water bath provides gentle, even heat during baking, which helps prevent cracks and ensures a creamy texture.
- → Can I make lemon curd from scratch?
Yes, homemade lemon curd is simple to make with lemons, sugar, eggs, and butter. It adds a fresh, tangy flavor to the cheesecake.
- → How should I store the cheesecake?
Refrigerate the cheesecake uncovered for up to 3 days to maintain its texture. Cover after slicing to preserve moisture.
- → Can I use a substitute for graham crackers?
Yes, you can use digestive biscuits or vanilla wafers as a substitute for graham crackers in the crust.