 Pin
Pin
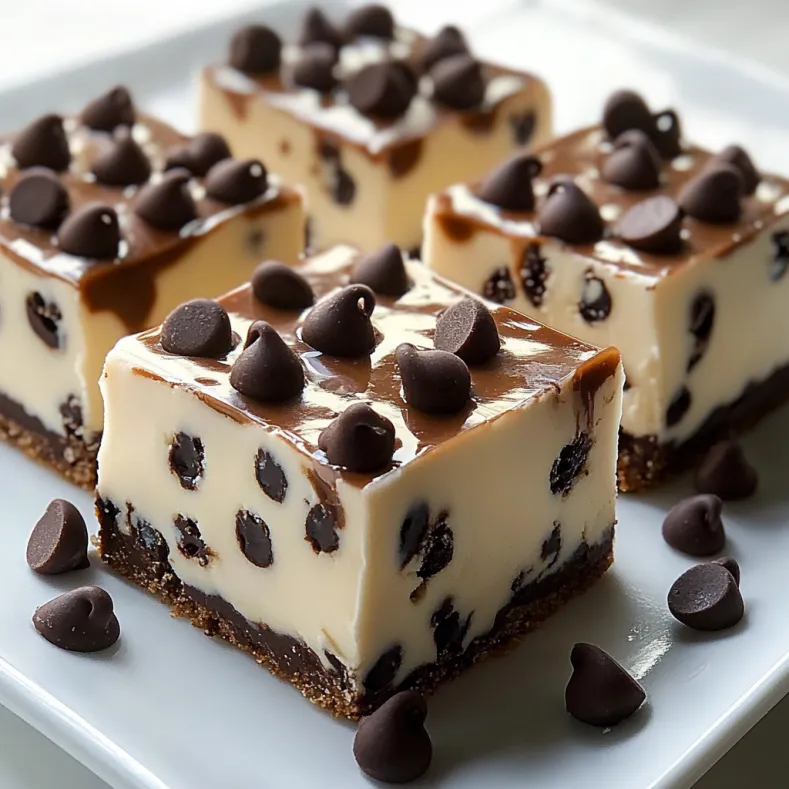
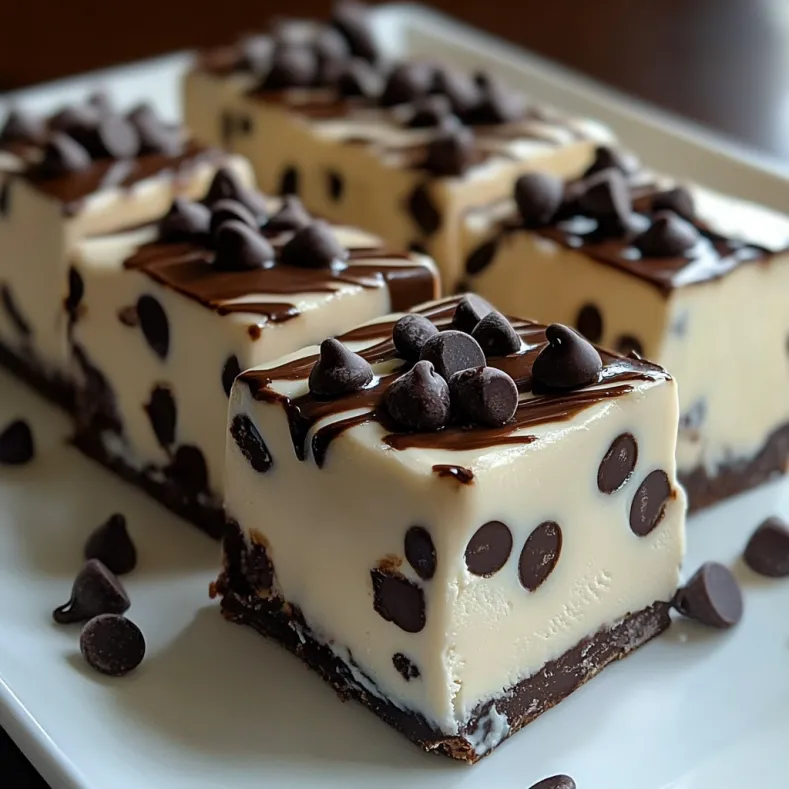
This triple-chocolate dessert satisfies the most intense chocolate cravings without ever turning on your oven. The combination of a crunchy cookie base, velvety cream cheese center studded with chocolate morsels, and glossy ganache topping creates textural magic that makes these bars absolutely irresistible.
I first made these for a summer gathering when it was too hot to turn on the oven. My guests were fighting over the last pieces and now this has become my signature dessert for potlucks where I never bring home leftovers.
Ingredients
- For the Crust: Chocolate cookie crumbs from about 20 chocolate cookies add a deep flavor foundation. Use Oreos with filling removed or chocolate graham crackers for best results
- Unsalted butter: Binds everything together while allowing the chocolate flavor to shine
- For the Cheesecake Layer: Cream cheese creates that signature tangy creaminess. Always use full-fat for the richest texture
- Granulated sugar: Balances the tanginess perfectly without making it too sweet
- Vanilla extract: Enhances the chocolate flavors with subtle warmth
- Mini chocolate chips: Distribute evenly throughout for chocolate in every bite
- For the Chocolate Ganache Topping: Heavy cream provides richness and silky mouthfeel
- Semi-sweet chocolate chips: Melt beautifully and offer the perfect balance of sweetness
Step-by-Step Instructions
- Prepare the Pan:
- Line your baking pan with parchment paper extending over the sides. This seemingly simple step is crucial for easy removal later. Press the paper into corners for clean edges and ensure the overhang is substantial enough to use as handles.
- Make the Perfect Crust:
- Combine cookie crumbs with melted butter until every crumb is moistened. The mixture should resemble wet sand and hold together when pressed between your fingers. Use the bottom of a measuring cup to firmly press into an even layer, paying special attention to the corners where filling can leak through.
- Create Silky Filling:
- Beat cream cheese until absolutely smooth before adding other ingredients. Room temperature cream cheese is essential here. Beat on medium speed for a full 2 minutes, scraping sides frequently to eliminate any lumps that would disrupt the creamy texture.
- Fold with Care:
- Gently incorporate chocolate chips using a folding motion rather than beating. This preserves air in the mixture for a lighter texture and prevents breaking the chips. Use a rubber spatula and cut through the center, then sweep around the bowl in figure-eight motions.
- Master the Ganache:
- Heat cream just until tiny bubbles form at the edges. Overheated cream can make ganache grainy. Pour over chocolate and resist the urge to stir immediately. The waiting period allows the chocolate to melt evenly without streaks.
- Create Perfect Slices:
- Use a sharp knife dipped in hot water and wiped clean between each cut. The heat helps glide through the ganache without dragging, and cleaning prevents smearing between layers.
 Pin
Pin
The mini chocolate chips are truly the secret weapon in this recipe. I discovered their magic when I ran out of regular chips one day. They distribute more evenly throughout the filling, ensuring chocolate in every bite without sinking to the bottom like larger chips often do.
Make-Ahead Magic
These bars actually improve with time as the flavors meld together. Make them a day before serving for the best flavor experience. The texture becomes perfectly set and the crust softens just enough to cut cleanly without crumbling. Store in the refrigerator covered loosely with plastic wrap, avoiding aluminum foil which can stick to the ganache.
Easy Substitutions
This recipe welcomes customization based on what you have available. Golden Oreos create a stunning vanilla base that contrasts beautifully with the chocolate layers. For a minty twist, add ¼ teaspoon peppermint extract to the filling. Lactose-sensitive guests appreciate that dairy-free cream cheese and coconut cream work wonderfully as substitutes, though the setting time may increase slightly.
Serving Suggestions
While these bars shine on their own, elevating them for special occasions is simple. Dust with cocoa powder just before serving for an elegant touch. A dollop of lightly sweetened whipped cream creates lovely contrast against the rich chocolate. For the ultimate indulgence, warm raspberry sauce drizzled over the top adds fruity brightness that balances the chocolate intensity.
Recipe Questions & Answers
- → Can I use a different type of cookie for the crust?
Yes, you can substitute chocolate cookies with graham crackers, digestive biscuits, or your preferred type of cookie. Ensure the crumbs are finely ground for the best crust texture.
- → How long do the bars need to chill?
The bars need at least 5-6 hours of chilling time for proper setting, including the crust, filling, and ganache layers.
- → Can I make these bars ahead of time?
Absolutely. These bars can be prepared a day in advance and stored in the refrigerator until serving.
- → What’s the best way to cut the bars neatly?
Use a sharp knife and wipe it clean between cuts to achieve clean edges. Chilling the bars thoroughly helps maintain their shape when slicing.
- → Can I use dark chocolate instead of semi-sweet for the ganache?
Yes, you can use dark chocolate for a richer flavor. Adjust any added sweetness to suit your taste.