 Pin
Pin
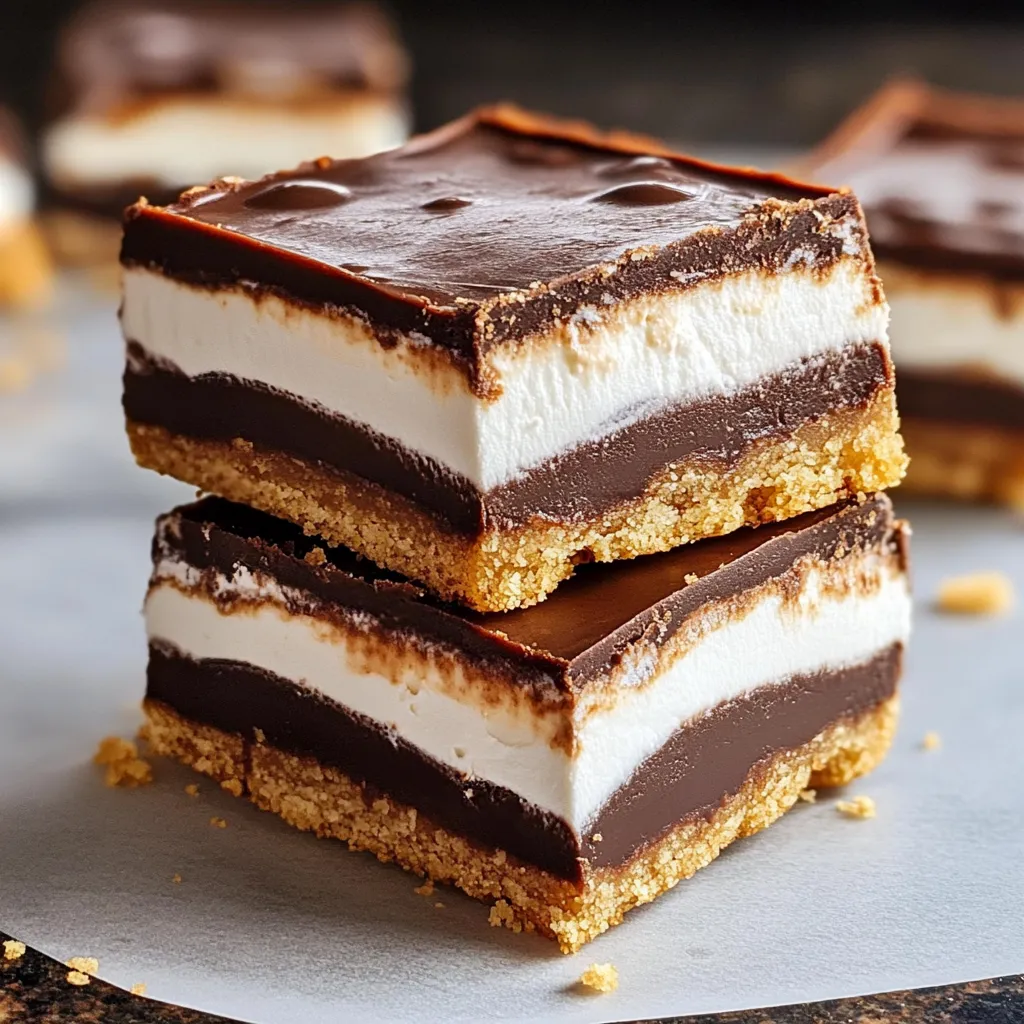
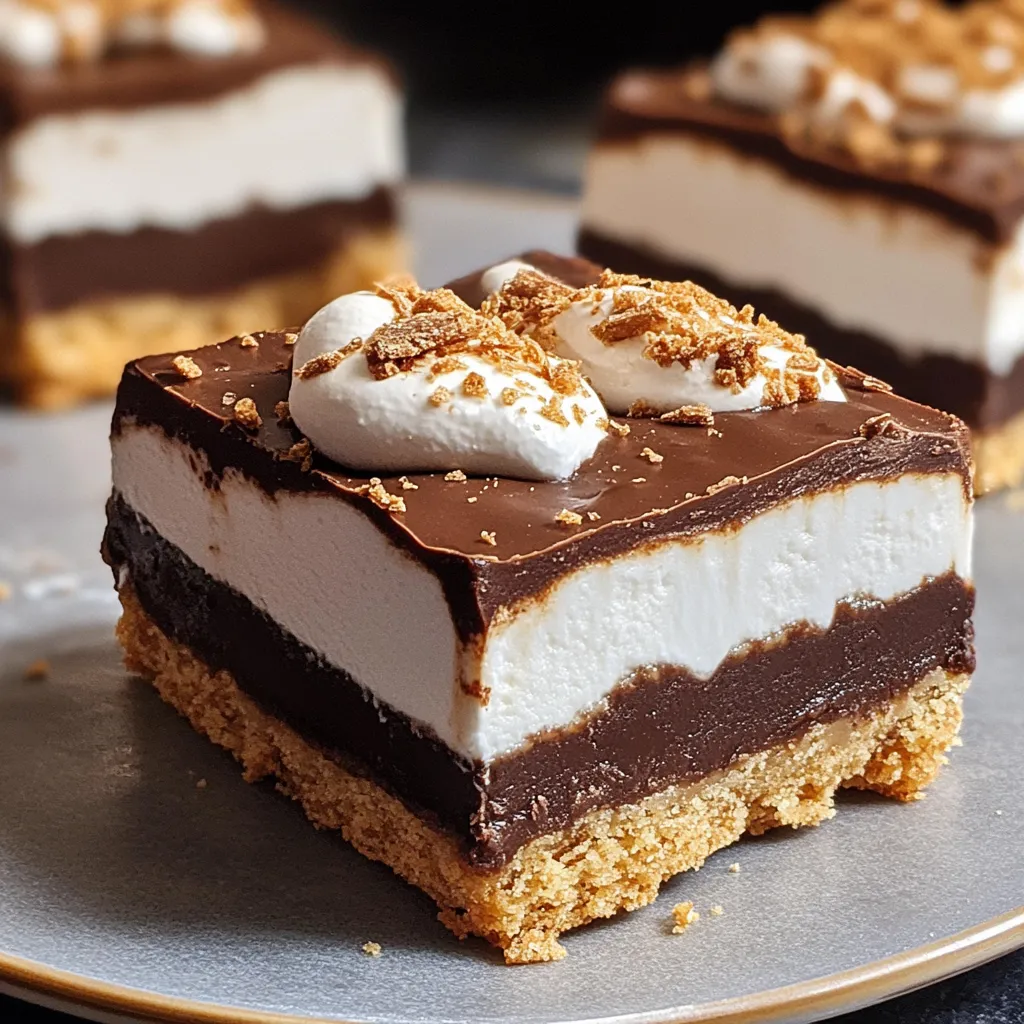
This S'mores Fudge Bars recipe brings the nostalgic campfire treat indoors with a decadent twist that will satisfy any sweet tooth. The combination of buttery graham cracker crust, rich chocolate fudge filling, and homemade toasted marshmallow creates the perfect texture contrast in every bite.
I first made these bars for my niece's birthday when camping was rained out. What started as a consolation dessert has become our most requested family treat. The look on everyone's face when they bite into that first square makes the extra effort completely worthwhile.
Ingredients
For the Crust:
- Full graham crackers: Provides the authentic s'mores base and structure for the bars
- Granulated sugar: Adds sweetness and helps the crust hold together
- Salt: Enhances all the flavors and balances the sweetness
- Unsalted butter: Binds everything together and adds richness to the crust
For the Fudge Filling:
- Semisweet chocolate chips: Use high quality chocolate for the best flavor profile
- Sweetened condensed milk: Creates that perfect fudgy consistency without being too sweet
For the Marshmallow Topping:
- Egg whites: The foundation for the fluffy marshmallow texture
- Cream of tartar: Stabilizes the egg whites for perfect peaks
- Granulated sugar: Sweetens and helps create the marshmallow structure
- Light corn syrup: Gives the marshmallow its signature stretchy texture
- Water: Helps dissolve the sugar properly
- Salt: Balances the sweetness in the marshmallow
- Vanilla extract: Adds depth of flavor to the marshmallow topping
Step-by-Step Instructions
Prepare the Crust
- Preheat your oven:
- Set it to 350°F and line an 8x8 inch baking pan with aluminum foil making sure it extends over the edges for easy removal later.
- Process graham crackers:
- Combine with sugar and salt until they become fine crumbs. The texture should resemble wet sand when you add the melted butter.
- Press mixture:
- Firmly and evenly into the pan using the bottom of a measuring cup for a compact base.
- Bake:
- For exactly 10 minutes until just beginning to turn golden around the edges. The crust will continue to set as it cools.
Create the Fudge Layer
- Combine ingredients:
- Mix chocolate chips and condensed milk in a heavy saucepan over medium-low heat. Stir constantly with a silicone spatula reaching all corners to prevent scorching.
- Check consistency:
- The mixture will become glossy and smooth after about 3 to 4 minutes. When no chocolate lumps remain, pour it over the cooled crust and spread into an even layer. Coax into corners as needed.
Craft the Marshmallow Topping
- Whip egg whites:
- Beat with cream of tartar in a stand mixer until soft peaks form, where the tips curl over when the beater is lifted.
- Make sugar syrup:
- Bring sugar, corn syrup, water, and salt to exactly 240°F using a candy thermometer. This temperature is crucial for proper marshmallow consistency.
- Combine:
- Pour hot syrup slowly into the whipped egg whites while the mixer runs on low speed, aiming between the bowl and whisk. Increase speed and beat until thick, glossy, and resembling marshmallow fluff. Add vanilla at the end.
Assemble and Finish
- Spread marshmallow layer:
- Carefully spread the marshmallow mixture over the fudge layer, using an offset spatula dipped in hot water.
- Toast marshmallow:
- For the authentic s'mores experience, use a kitchen torch to toast the top in circular motions for even browning. If using a broiler, watch carefully as it can burn quickly.
- Refrigerate:
- Chill for at least one hour to set all layers before cutting into squares with a knife dipped in hot water between cuts.
 Pin
Pin
The homemade marshmallow topping is what truly elevates these bars from good to extraordinary. I'll never forget when my husband who claimed to dislike marshmallows took his first bite and immediately asked for the recipe. That perfect moment when the marshmallow toasting happens always takes me back to childhood campfires and simpler times.
Make Ahead Options
These S'mores Fudge Bars are perfect for preparing a day or two before you need them. The flavors actually meld and develop overnight in the refrigerator. For best results, toast the marshmallow topping just before serving to maintain that fresh campfire appearance. The bars can also be frozen untoasted then thawed in the refrigerator and toasted just before serving.
Ingredient Substitutions
If graham crackers aren't available, digestive biscuits make an excellent substitute with a similar honey flavor profile. For a chocolate lover's dream, replace regular graham crackers with chocolate graham crackers for an extra layer of chocolate flavor. Dairy-free bakers can substitute coconut oil for butter in the crust and use dairy-free chocolate chips with sweetened condensed coconut milk for the filling layer.
Serving Suggestions
While delicious cold straight from the refrigerator, these bars reach their peak when allowed to sit at room temperature for about 15 minutes before serving. The slight warming creates the perfect fudgy texture. For an extra special dessert, place a square on a plate with a scoop of vanilla ice cream and drizzle with warm chocolate sauce. These also make stunning additions to dessert boards alongside fresh berries and other bite-sized treats.
Recipe Questions & Answers
- → Can I use store-bought marshmallow fluff instead of making it?
Yes, you can use store-bought marshmallow fluff as a shortcut, but note that homemade marshmallow topping provides a fresher and more authentic taste.
- → How do I avoid burning the marshmallow topping?
When using a kitchen torch, keep the flame moving constantly. If using a broiler, watch closely and check every few seconds to prevent burning.
- → Can I substitute the graham crackers for another crust base?
Yes, you can use crushed digestive biscuits, vanilla wafers, or even Oreo cookies as a substitute for the graham cracker crust.
- → How should I store these bars?
Store the bars in an airtight container in the refrigerator for up to 5 days to maintain freshness and texture.
- → Can I make these bars ahead of time?
Yes, these bars can be made a day in advance and stored in the refrigerator until serving. This actually helps the layers set better.