 Pin
Pin
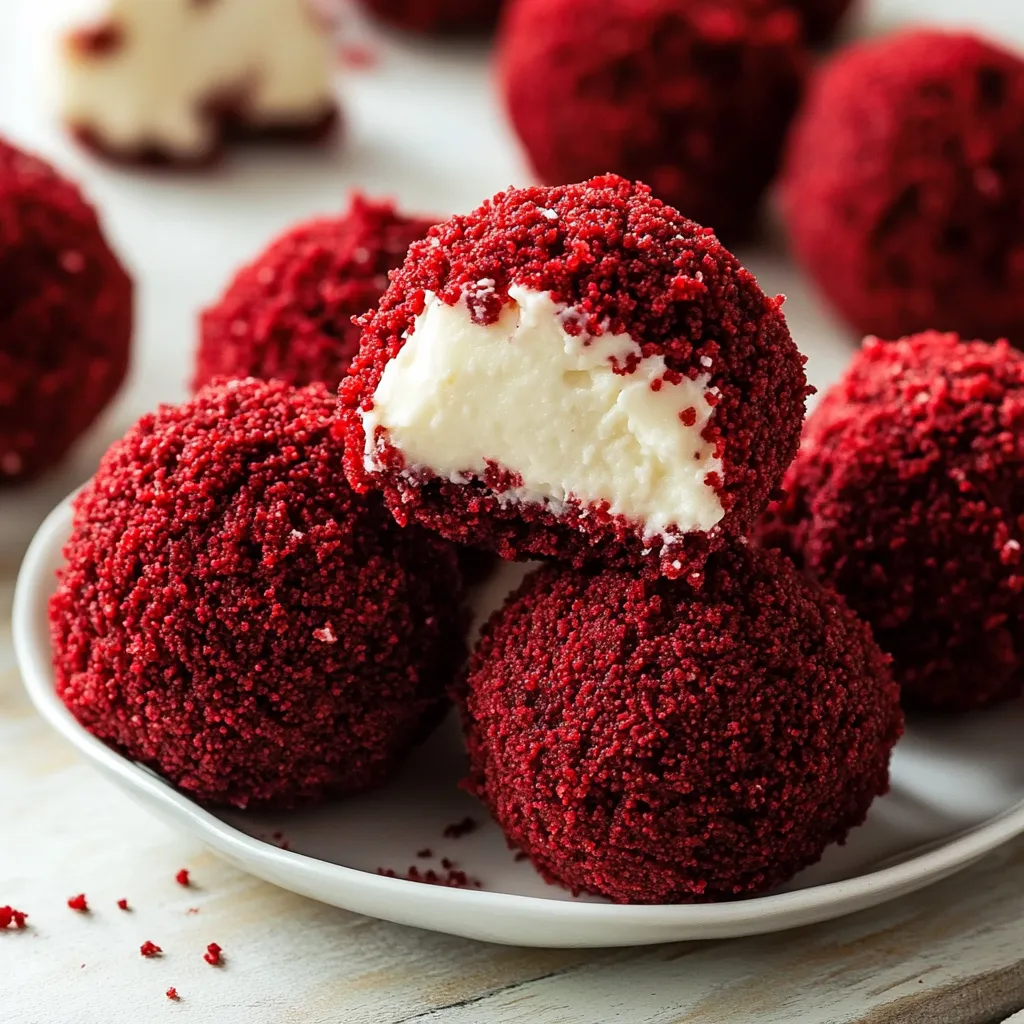
This decadent red velvet cheesecake ball recipe combines the classic flavor of red velvet cake with creamy cheesecake for a bite-sized treat that never fails to impress. I discovered this recipe when looking for an elegant yet simple dessert for a holiday gathering, and it's now my go-to for special occasions when I want something impressive without spending hours in the kitchen.
I first made these for a Valentine's Day dinner with my husband, and they were such a hit that I now make them for every special occasion. The contrast between the vibrant red exterior and creamy white interior creates a stunning presentation that looks like you spent hours in the kitchen.
Ingredients
- Red velvet cake mix: a time saver that provides that distinctive flavor and gorgeous color
- Water: helps create the perfect cake texture
- Vegetable oil: keeps the cake moist and tender
- Eggs: bind everything together and provide structure
- Cream cheese: the star of the filling provides that tangy cheesecake flavor
- Confectioners sugar: sweetens without graininess
- Heavy cream: creates a silky smooth texture
- Vanilla extract: adds depth and warmth to the filling
Step-by-Step Instructions
- Prepare the Cake:
- Preheat your oven to 350°F and prepare a 9×13 baking pan with nonstick spray. Mix the red velvet cake mix with water, vegetable oil, and eggs until smooth and well combined. Pour into your prepared pan and spread evenly. Bake according to box directions until a toothpick inserted in the center comes out clean. Allow to cool completely on a wire rack before moving to the next step.
- Create the Cake Crumbs:
- Once cooled, turn the cake into a large bowl and crumble it with your fingers until no large pieces remain. The finer the crumbs, the smoother your finished balls will be. Set these aside while you prepare the cheesecake filling.
- Prepare the Cheesecake Filling:
- In a stand mixer with paddle attachment, beat the softened cream cheese and confectioners sugar until completely smooth and fluffy, about 2 minutes. Scrape down the sides of the bowl frequently. Add the heavy cream and vanilla extract, then mix until the mixture holds its shape and becomes firm enough to scoop.
- Form the Cheesecake Centers:
- Line a baking sheet with parchment paper. Using a small cookie scoop or tablespoon, portion the cheesecake mixture into balls and place them on the prepared sheet. Place the entire tray in the freezer for one hour to firm up the balls. This chilling step is crucial so they hold their shape when coating.
- Create the Finished Treats:
- Remove the chilled cheesecake balls from the freezer. Working quickly so they don’t melt, roll each ball in the red velvet cake crumbs, pressing gently to adhere the crumbs to all sides. Place the finished balls back on the parchment lined sheet and refrigerate until ready to serve.
 Pin
Pin
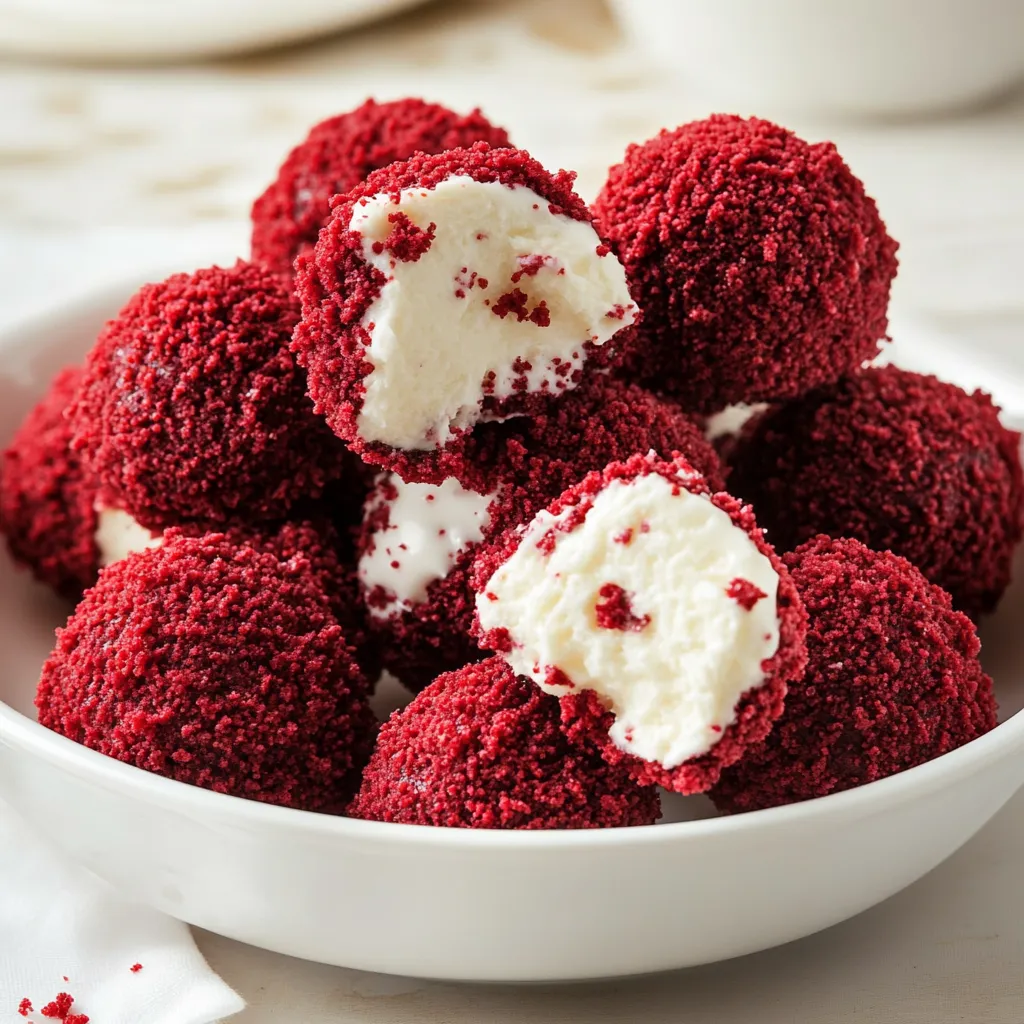
The cream cheese is truly the heart of this recipe. I recommend using full fat Philadelphia brand for the best texture and flavor. Once during a family gathering, my grandmother who rarely gives compliments on modern desserts declared these cheesecake balls better than her traditional cheesecake that takes hours to make!
Storage Tips
These red velvet cheesecake balls need to be stored in the refrigerator in an airtight container due to the cream cheese filling. They will keep beautifully for up to 5 days, though the cake coating may soften slightly over time. I find they taste even better on day two after the flavors have had a chance to meld together. If you want to prepare them further in advance, you can freeze the finished balls for up to one month. Simply thaw in the refrigerator overnight before serving.
Decoration Ideas
While the red velvet coating creates a beautiful dessert on its own, you can elevate these treats for special occasions with simple decorations. Try drizzling with white chocolate for a striking contrast against the red coating. For holiday gatherings, I add a light dusting of edible gold luster dust or silver sprinkles for a festive touch. You can also place each ball in a mini cupcake liner for easier serving at parties. My family loves when I add a tiny heart shaped sprinkle on top for Valentine's Day celebrations.
Flavor Variations
The basic recipe is wonderful as is, but you can customize these cheesecake balls to suit your preferences. Add a teaspoon of almond extract to the cheesecake filling for a subtle nutty flavor. For chocolate lovers, mix in mini chocolate chips or replace some of the red velvet crumbs with chocolate cookie crumbs for a marbled effect. During the holidays, I sometimes add a quarter teaspoon of peppermint extract to the filling for a seasonal twist. The versatility of this recipe is what makes it a favorite in my recipe collection.
Recipe Questions & Answers
- → How do I store Red Velvet Cheesecake Balls?
Store them in an airtight container in the refrigerator for up to five days to maintain freshness and flavor.
- → Can I freeze these treats?
Yes, place them in a freezer-safe container and freeze for up to three months. Thaw in the refrigerator before serving.
- → What is the best way to crumble the cake?
Once cooled, use your hands or a food processor to finely crumble the baked red velvet cake.
- → Can I use a different cake mix flavor?
Absolutely! Try chocolate or vanilla cake mix for a tasty variation of this dessert.
- → Can I add toppings to the finished balls?
Yes, drizzle melted chocolate or sprinkle crushed nuts on top for an extra layer of flavor and texture.