 Pin
Pin
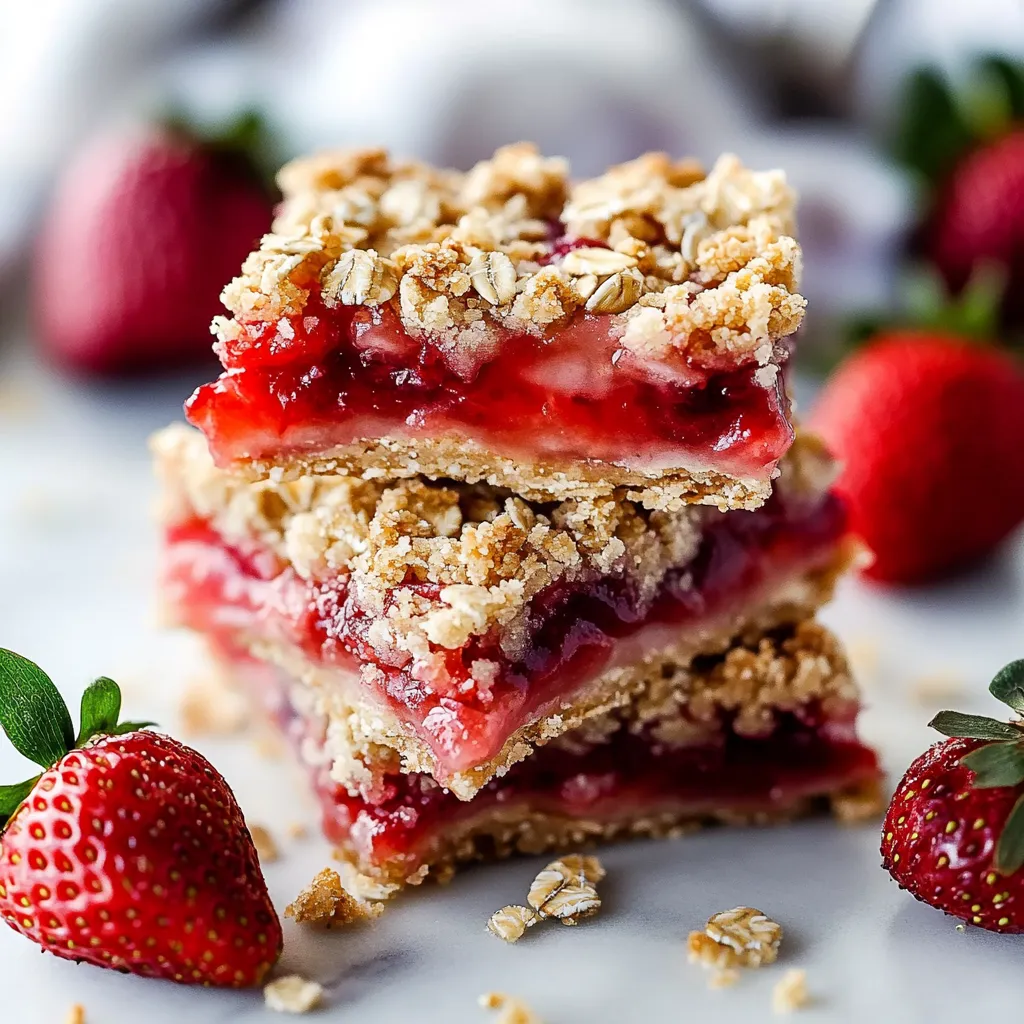
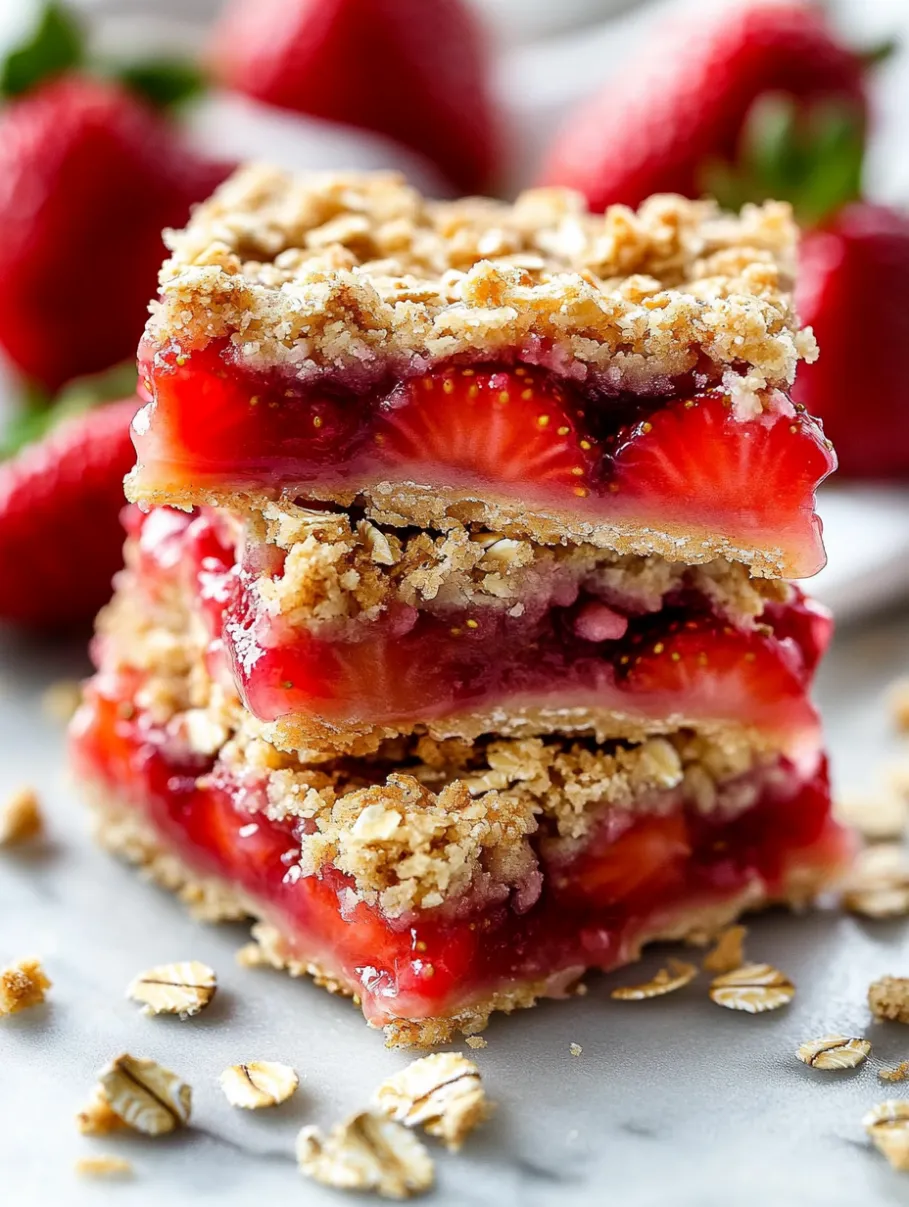
This strawberry pie bar recipe transforms fresh summer berries into a portable dessert that perfectly balances sweet fruit filling with buttery oat crumble. I discovered this recipe during strawberry season last year and have made it countless times since, always to rave reviews from friends and family who can't believe something so delicious is so simple to make.
This recipe has become my summer entertaining secret weapon. When local strawberries are at their peak, I make double batches to freeze so we can enjoy a taste of summer even in the coldest months.
Ingredients
- All purpose flour: Creates the perfect tender base for these bars
- Granulated sugar: Balances the natural tartness of the berries without overwhelming them
- Unsalted butter: Must be cold for the best texture in the crust and crumble
- Old fashioned oats: Give wonderful texture and nutty flavor to the topping
- Fresh strawberries: The star here—choose bright red berries with no white shoulders for best flavor
- Cornstarch: Thickens the filling so it cuts cleanly without being runny
- Lemon juice: Brightens the filling and enhances the natural berry flavor
Step-by-Step Instructions
- Prepare Your Pan:
- Properly preparing your baking pan is crucial for these bars. The parchment paper creates a sling that makes removing the entire dessert easy after cooling. Make sure your parchment overhangs two sides by at least two inches.
- Make The Perfect Crumb Mixture:
- When mixing your crumb ingredients, avoid overworking the butter. You want pea-sized pieces of cold butter throughout the mixture for the flakiest, most tender result. If using a food processor, use only short pulses just until combined.
- Prebake The Bottom Crust:
- This brief initial baking helps set the bottom crust and prevents sogginess. Watch carefully during this step as you want the crust just barely set but not browned.
- Cook The Perfect Filling:
- When preparing the strawberry filling, mash some berries against the side of the pan while stirring to release their juices. The filling should coat the back of a spoon and leave a clear path when you run your finger through it to know it's properly thickened.
- Add Final Layer And Bake:
- When adding the reserved crumb topping, gently press it into the strawberry layer slightly rather than just sprinkling it on top. This helps the layers bond during baking for bars that hold together beautifully when cut.
- Cool Completely:
- Patience is key here. Allow the bars to cool completely to room temperature before attempting to cut them. For even cleaner cuts, refrigerate for an hour after cooling.
 Pin
Pin
The secret to the incredible flavor in these bars is allowing the strawberries to macerate with the sugar for about 15 minutes before cooking the filling. I discovered this trick after making the recipe several times and noticing the depth of flavor was enhanced when I let the berries and sugar sit together first.
Storage Tips
These strawberry pie bars will keep at room temperature for up to 2 days when covered tightly. For longer storage, refrigerate in an airtight container for up to 5 days. The crust will soften slightly in the refrigerator but will still be delicious.
To freeze, place cut bars in a single layer on a baking sheet until frozen solid, then transfer to freezer bags. This prevents them from sticking together. Thaw overnight in the refrigerator before serving.
Seasonal Variations
While this recipe shines with fresh summer strawberries, it works beautifully with other berries or fruits throughout the year. Try blackberries in late summer, apples with cinnamon in fall, or a mixed berry version when fresh options are limited. Adjust the sugar slightly depending on the natural sweetness of your fruit.
For a more complex flavor profile, try adding vanilla extract to the crust mixture or almond extract to the filling. Citrus zest from lemons or oranges can also brighten the flavor profile depending on your fruit choice.
Serving Suggestions
These bars are perfect on their own, but for an elevated dessert experience, try warming slightly and topping with a scoop of vanilla ice cream or freshly whipped cream. For brunches, they pair beautifully with coffee or tea.
I often cut these into smaller squares for cocktail parties or larger gatherings where people want to sample multiple desserts. The sturdy texture makes them easy to pick up and enjoy without utensils.
Recipe Questions & Answers
- → Can I use frozen strawberries?
Yes, frozen strawberries can be used. Thaw them first and drain excess liquid to ensure the filling doesn't become too watery.
- → How do I achieve a flaky crust?
Chill the crust mixture for at least 30 minutes before baking. Using cold butter also helps create a tender, flaky texture.
- → Can I substitute the oats for something else?
Yes, you can substitute oats with crushed nuts or even shredded coconut for added texture and flavor.
- → How do I store leftovers?
Store leftover bars in an airtight container in the refrigerator for up to five days. They can also be frozen for longer storage.
- → Can this be made in advance?
Absolutely! These bars can be made a day or two ahead of time. Just store them covered in the refrigerator until ready to serve.