 Pin
Pin
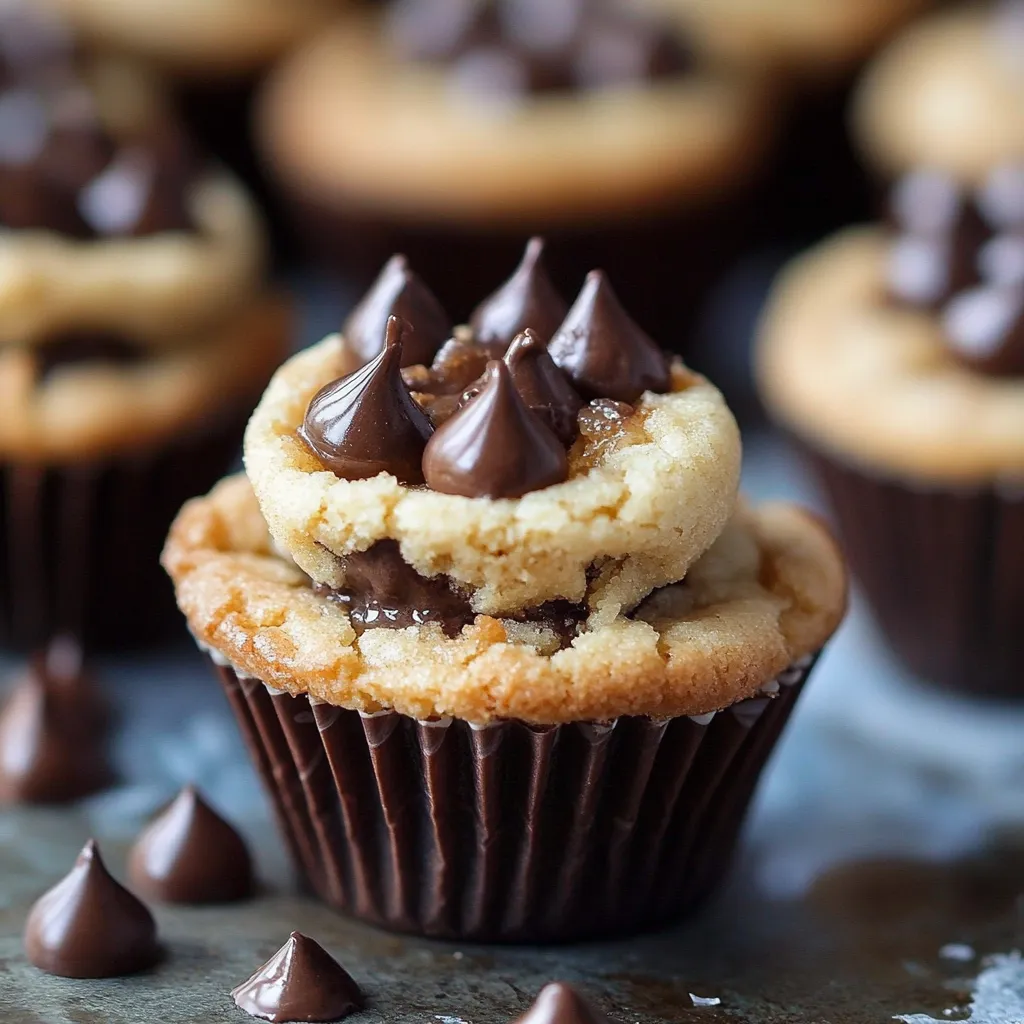
This incredibly simple 2-ingredient cookie cup recipe has become my secret weapon for last-minute desserts and impressing guests with minimal effort. The contrast between the crispy cookie exterior and the melty center creates a perfect bite-sized treat that looks far more elaborate than it actually is.
I discovered this recipe during a chaotic holiday season when I needed a quick dessert for unexpected guests. The delighted expressions on everyone's faces when they bit into these warm cookie cups convinced me to keep this recipe in my permanent rotation.
Ingredients
- Refrigerated cookie dough: One roll creates the perfect base with zero prep work and consistent results. Look for all-butter varieties for best flavor.
- Mini peanut butter cups: These create the perfect melty center and balance the sweetness of the cookie. Choose name brand for best melting quality.
Step-by-Step Instructions
- Prepare Your Equipment:
- Preheat your oven to 350°F while you grease a mini muffin tin or line it with cupcake liners. The preheating step is crucial for getting that perfect golden exterior while maintaining a soft interior.
- Shape Your Cookie Cups:
- Divide the cookie dough into 12 equal portions by cutting the roll into quarters, then dividing each quarter into three pieces. Roll each between your palms to form smooth balls before placing them in the muffin cups. Press down gently in the center with your thumb to create a slight indentation where your filling will eventually sit.
- Bake To Perfection:
- Slide the muffin tin into your preheated oven and bake for exactly 10-12 minutes. You want the edges to turn golden brown while the centers remain slightly soft. Watch carefully during the final minutes as the difference between perfect and overdone can happen quickly.
- Create The Magic Center:
- As soon as you remove the tin from the oven, immediately press a mini peanut butter cup into the center of each warm cookie cup. The residual heat will gently melt the candy, creating that irresistible gooey center. Allow to cool for 10 minutes in the tin before transferring to a wire rack to complete cooling.
My personal favorite variation uses dark chocolate cookie dough with salted caramel centers. I discovered this combination when experimenting with leftover Halloween candy, and it has since become our family's traditional movie night treat during the winter months.
Perfect Party Presentation
These cookie cups elevate any dessert table with minimal effort. Arrange them on a tiered stand with different fillings on each level for a visual impact that suggests hours of baking. For special occasions, add a small dollop of whipped cream and a fresh berry on top just before serving. The contrast between the warm cookie, melty filling, and cool topping creates a memorable sensory experience.
Filling Inspiration
The versatility of these cookie cups is truly endless. Try dark chocolate squares for a classic approach or experiment with jam centers for a fruit-forward option. During fall months, pumpkin butter creates a seasonal variation, while mint chocolates work beautifully for holiday gatherings. My children love to customize their own with marshmallow pieces that become perfectly gooey. Consider what flavors complement your cookie dough base: chocolate chip pairs wonderfully with caramel, while sugar cookie dough works beautifully with fruit fillings.
Make Ahead Magic
These cookie cups actually improve with a day of rest as the flavors meld together, making them perfect for busy hosts. Prepare them up to two days before your event and store in an airtight container at room temperature. For longer storage, they freeze beautifully for up to three months. Simply thaw at room temperature for about an hour before serving. You can even warm them briefly in a 300°F oven for 5 minutes to recreate that fresh-baked experience.
Recipe Questions & Answers
- → Can I use a different type of cookie dough?
Yes! You can use chocolate chip, sugar, peanut butter, or any other type of refrigerated cookie dough for this recipe.
- → What other fillings can I use?
Try Nutella, jam, caramel, marshmallows, or even Hershey’s Kisses for creative variations.
- → Can I make these without a muffin tin?
If you don’t have a mini muffin tin, simply shape the dough into cookies and bake them on a baking sheet.
- → How should I store the cookie cups?
Keep them in an airtight container at room temperature for up to 5 days, or freeze them for up to 3 months.
- → How do I prevent the cookie cups from sticking?
Grease the muffin tin well or use cupcake liners to ensure easy removal of the cookie cups.
- → Can I add toppings after baking?
Yes, you can sprinkle crushed nuts, sprinkles, or drizzle chocolate on top for added flavor and texture.