 Pin
Pin
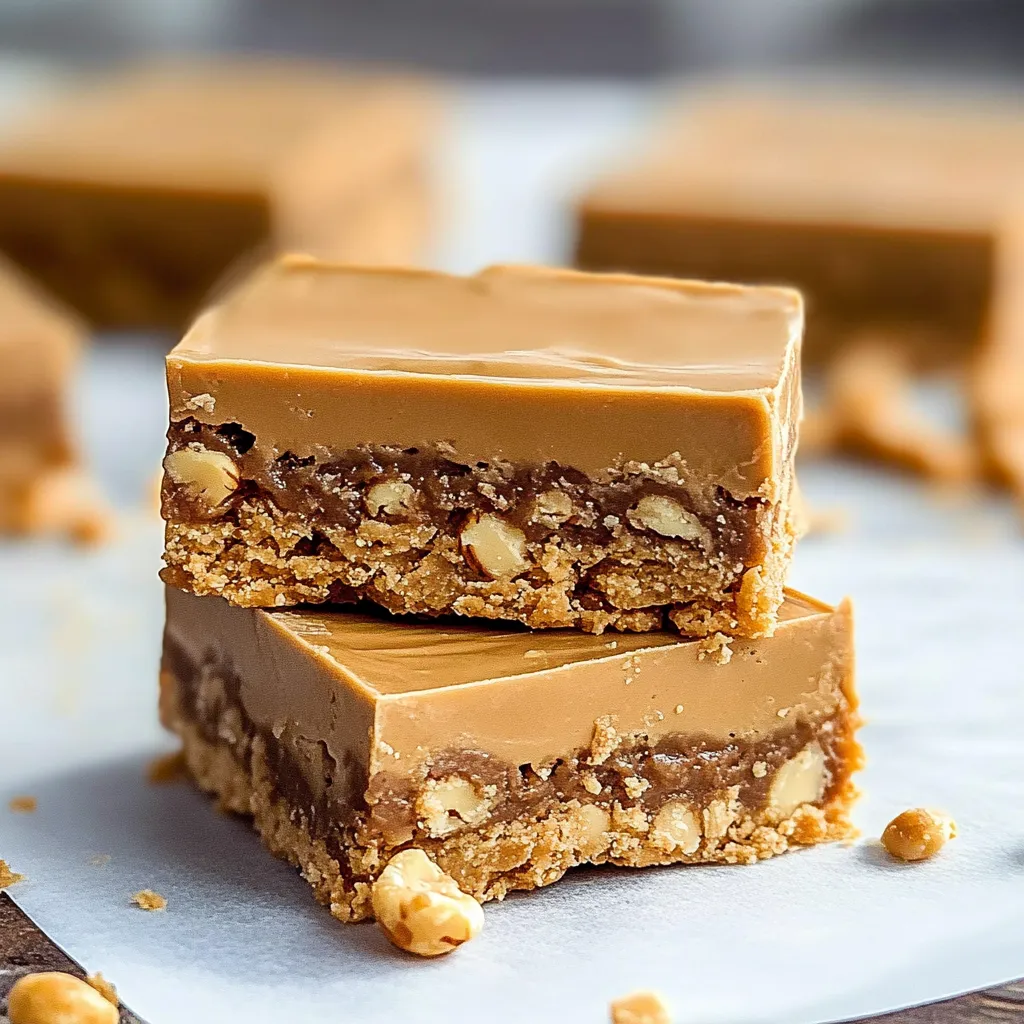
This decadent no-bake dessert combines the perfect balance of rich peanut butter and smooth chocolate in every bite. The buttery graham cracker base creates the ideal foundation for the creamy peanut butter layer, all topped with a luscious chocolate-peanut butter glaze that sets to perfection.
The first time I made these bars was for my nephew's birthday party when the oven unexpectedly broke. They were such a hit that they've become our family's most requested dessert for gatherings. Even my brother who claims not to have a sweet tooth devours these every time.
Ingredients
- Creamy peanut butter: Creates both the delicious base and enhances the chocolate topping. Look for natural peanut butter with minimal additives for best flavor.
- Unsalted butter: Adds richness and helps the bars set properly. Always use room temperature for easier mixing.
- Vanilla extract: Brings warmth and depth to the peanut butter layer. Pure vanilla makes a noticeable difference.
- Powdered sugar: Provides sweetness and structure without graininess. Sift first to avoid lumps.
- Graham cracker crumbs: Form the foundation with their subtle honey notes. Finely crushed for the best texture.
- Semisweet chocolate chips: Melt beautifully for the topping. High quality chips will give you the smoothest results.
Step-by-Step Instructions
- Prepare the Pan:
- Line your 9×9 baking pan with parchment paper leaving some overhang on the sides for easy removal later. Make sure to press the paper into the corners for clean edges on your finished bars.
- Mix the Base Ingredients:
- In a large mixing bowl combine the creamy peanut butter with melted but not hot butter and vanilla extract. Stir until completely smooth and uniform in consistency which typically takes about 1 minute of thorough mixing.
- Add Dry Ingredients:
- Gradually add the powdered sugar and graham cracker crumbs to your peanut butter mixture. Stir slowly at first to prevent a sugar cloud then mix more vigorously until you achieve a thick cookie dough-like consistency. The mixture should hold together when pressed.
- Form the Base Layer:
- Transfer your peanut butter mixture to the prepared pan. Using the back of a measuring cup or your hands press the mixture firmly and evenly into the pan. Take your time here as an even base ensures consistent bars. Pay special attention to the corners.
- Create the Topping:
- In a microwave safe bowl combine chocolate chips and the remaining peanut butter. Heat in 30 second intervals stirring thoroughly between each until completely melted and glossy. This usually takes 1 to 2 minutes total depending on your microwave power.
- Apply the Chocolate Layer:
- Pour the warm chocolate peanut butter mixture over your base layer. Use an offset spatula or the back of a spoon to spread it evenly reaching all the way to the edges. Give the pan a gentle tap on the counter to remove any air bubbles.
- Chill Until Set:
- Refrigerate your bars for at least 1 hour or until the chocolate layer is completely firm. For the best texture allow the bars to set undisturbed without checking frequently.
- Cut and Serve:
- Once fully set lift the bars out of the pan using the parchment paper overhang. With a sharp knife cut into 16 equal squares wiping the knife clean between cuts for the cleanest edges.
I absolutely adore the combination of chocolate and peanut butter in these bars. My grandmother introduced me to this flavor pairing when I was just a child, making homemade peanut butter cups every Christmas. These bars bring back those warm memories but with much less effort. The first time I served them at a family reunion, my grandmother asked for the recipe which felt like winning a culinary gold medal.
Perfect Storage Solutions
These bars keep beautifully in an airtight container in the refrigerator for up to one week. I recommend placing parchment paper between layers if you stack them to prevent the chocolate from sticking. For longer storage, these bars freeze exceptionally well for up to three months. Simply wrap individual portions in plastic wrap then place in a freezer bag. Allow them to thaw in the refrigerator overnight before serving.
Easy Ingredient Swaps
If you need to make substitutions, these bars are quite adaptable. Natural peanut butter works but may require additional powdered sugar to achieve the right consistency. Almond butter creates a sophisticated variation with a more subtle nutty flavor. For the graham crackers, digestive biscuits or vanilla wafer cookies make excellent alternatives. Dark chocolate can replace semisweet for a less sweet, more intense chocolate experience that balances beautifully with the sweet peanut butter layer.
Serving Suggestions
While these bars are perfect on their own, they transform into an impressive dessert when served with accompaniments. Try pairing with a scoop of vanilla ice cream and a drizzle of warm caramel sauce for an indulgent dessert plating. For afternoon tea or coffee, cut them into smaller bite sized pieces and dust with a hint of sea salt to enhance the sweet and salty contrast. During holiday seasons, decorate the top with festive sprinkles before the chocolate sets.
The History Behind the Bars
These no bake peanut butter bars have their roots in Midwestern church cookbooks from the 1970s and 1980s when convenience desserts became increasingly popular. Similar to the famous Ohio Buckeye candies but in an easier bar form, they represent American ingenuity in creating delicious treats with minimal effort. The combination of peanut butter and chocolate became widely beloved after Reese's peanut butter cups gained nationwide popularity, inspiring home cooks to recreate the flavor combination in various homemade desserts.
Recipe Questions & Answers
- → Can I use crunchy peanut butter instead of creamy?
Yes, using crunchy peanut butter adds texture to the bars. It’s a great option for extra crunch.
- → How should I store these peanut butter bars?
Store the bars in an airtight container in the fridge for up to 1 week. You can also freeze them for up to 3 months.
- → Can I substitute graham cracker crumbs?
Yes, you can use crushed digestive biscuits or any similar crumbly cookie as a substitute.
- → Why is my topping not setting properly?
Ensure the chocolate and peanut butter mixture is well combined and chilled for the recommended 1-2 hours.
- → Can I use white chocolate for the topping?
Yes, white chocolate can be used for a sweeter twist. Melt it with peanut butter as directed.